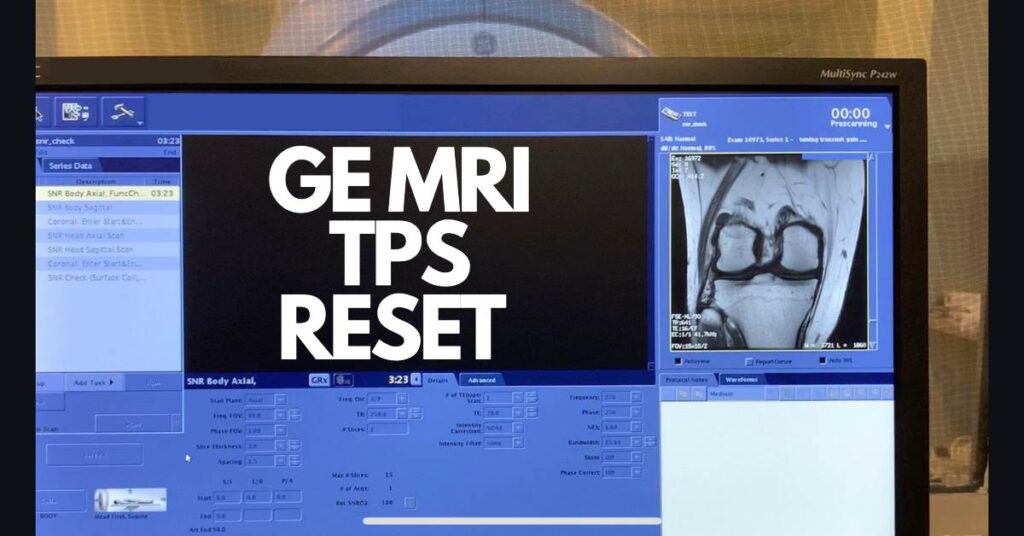
This article details the GE MRI TPS Reset Procedure. Instructional video and step-by-step guide to reset the transceiver processing and storage in GE Healthcare MRI systems. This article includes both TPS reset procedures, reasons for common failures and quick resolution tips. Our mission is to provide the best radiology resources. Subscribe below to stay up to date with the latest technical resource videos.
This article is only a reference resource. Refer to the current revision of the procedure found in the GE Healthcare common service documentation library. Medicalimagingsource.com is not responsible for any misuse of content. The following procedure should only be performed by trained imaging professionals and only used as a supplementary reference resource.
What is a GE MRI TPS Reset?
The TPS reset establishes communication between the MRI host computer, systems cabinet and logic controllers throughout the system. During this process, the MRI system controller boards are rebooted by the host computer. Furthermore, scan protocol files are updated so the system syncs to equipment room and MRI scan room components. Essentially, the MR host computer is making sure all controllers are present and in the ready state before scan functions are allowed.
A TPS reset is a critical system function. The MRI system must perform a successful TPS reset before scan functions may resume. In fact, the system will not allow any scan function if GE MRI TPS reset failed.
How to Perform GE MRI TPS Reset
This section contains both of the TPS reset procedures. To see the full video version of the TPS reset procedure (service browser), click here: https://youtu.be/frdtnoak4ys
Time Required 3 minutes
GE MRI TPS reset step-by-step procedure.
- Click on the “Service Tools” icon
To begin the GE MRI TPS reset procedure, start by clicking the service tools icon (located on the top left of MRI scan monitor).
- Select the “Utilities” Tab in the MR Service Browser
Wait up to 30 seconds for MRI service browser to populate. Click on the Utilities Tab along the top of the MR service browser,
- Click on “TPS Reset”
Scroll down the left side of the MRI service browsed dropdown menu and click on TPS “Reset”.
- Click on “Reset” button
The service browser will populate a new screen under TPS reset. Select The “Reset” button below “TPS Reset”.
- Lastly, click OK in notification window. Allow up to 5 minutes for GE MRI TPS reset.
Start the GE MRI TPS reset procedure and wait between 2 and 5 minutes for the MR message log to update with a status. Your message log will read: Reset/Download was successful once TPS reset has completed.
Quick TPS Reset Procedure
This section provides instructions to the quick reset procedure. This method circumvents the need to populate MRI service browser.
- Select Service Tools Tab (Upper left of MRI scan monitor)
- Next, Click on “TPS Reset”
- Then, click on “OK”
- Wait up 2 minutes (up to 5 minutes) for message log update: “Reset/Download TPS was successful”
- Finally, start New Patient Exam
Video version of the quick TPS reset procedure available at: https://youtu.be/KNsxwwGXkLc
What if GE MRI TPS Reset Failed? (Best Course of Action)
The first step when experiencing a TPS reset failure is check the GE MRI error log for details of the failure. Also, It is recommended to select the “View All” selection under the “Select Viewing Level” option. The video above details how to view the GE MRI error log.
Once the current error log message has been located, perform the appropriate corrective action. Attempt another iteration of system resets to ensure system passes successfully. If your system is still not scanning, the section below may have some answers for you.
Troubleshooting TPS “Reset Failed” Error Messages
The most common reasons for a TPS reset failure are listed in order of frequency below.
| Reason for Failure | Corrective Action |
|---|---|
| GE MRI TPS reset failed upon startup | Press “Emo Reset” button in the PDU cabinet. Wait 30 seconds for the system controllers to boot, then attempt another TPS reset. |
| “PDU in Stop Mode” appears in error message log | First, troubleshoot GE MRI 24v loop connection. Then, check all cables in the operator workspace for good connection.Press the green “Emo Reset” button on the pdu cabinet (Equipment Room). Lastly attempt TPS reset again, once connection issue has been resolved. |
| “Failed to download scan protocol” appears in error message log | Intermittent error occurred when attempting to download scan prescription files. First, perform TPS reset to resolve issue. Secondly, perform system reboot or full system shutdown, if reset fails to resolve issues. |
Furthermore, MR system reboot or full shut down may be necessary if the above corrective actions fail to resolve your issue. Additionally, this procedure can be found in the GE MRI Operator manual. Instructional video for the full MRI shutdown and boot up process can be found on our GE MRI Operator Manual Playlist at https://www.youtube.com/watch?v=LGpjaSYGdrc&list=PLtf-HQ_b5QfHGX2o9IQNltm-J6m2_ykCM
Conclusion
The GE MRI TPS reset is a critical system function that is required to successfully complete before patient scans may resume. This article provides all of the essential information MRI Technologists and imaging professionals may need when experiencing the GE MRI TPS reset failed message. To learn more about related technical resources, view the additional resources section below.
Related resources
Quick Navigation Links
- How to Turn On GE MRI Scanner
- GE MRI Shutdown Procedure
- Top 5 Tips When Your MRI is Not Scanning
- GE MRI Technologist Resources
- Field Engineer Resources
- GE MRI ARC vs ASSET
- MRIPETCTSOURCE YouTube Channel
GE Common Documentation Library available at https://www.gehealthcare.com/support/documentation
Additionally, new resources will be added to this section as content is published.
Join the Medical Imaging Source Community!
Subscribe To Our Newsletter To Stay Up To Date With The Latest News, Exclusive Offers, And Giveaways!
The information provided by MRIPETCTSOURCE (“we,” “us,” or “our”) on https://www.medicalimagingsource.com (the “Site”) is for general informational purposes only. All information on the Site is provided in good faith, however we make no representation or warranty of any kind, express or implied, regarding the accuracy, adequacy, validity, reliability, availability, or completeness of any information on the Site. UNDER NO CIRCUMSTANCE SHALL WE HAVE ANY LIABILITY TO YOU FOR ANY LOSS OR DAMAGE OF ANY KIND INCURRED AS A RESULT OF THE USE OF THE SITE OR RELIANCE ON ANY INFORMATION PROVIDED ON THE SITE. YOUR USE OF THE SITE AND YOUR RELIANCE ON ANY INFORMATION ON THE SITE IS SOLELY AT YOUR OWN RISK.